-
Bangor Marina Bangor, Northern Ireland
-
Conwy Marina Conwy, North Wales, Wales
-
Deacons Marina River Hamble, Southampton, England
-
East Cowes Marina East Cowes, Isle of Wight, England
-
Haslar Marina Haslar, Portsmouth Harbour, England
-
Penarth Marina Penarth, Cardiff, Wales
-
Portishead Marina Portishead, Bristol, England
-
Portland Marina Portland, Dorset, England
-
Rhu Marina Rhu, Firth of Clyde, Scotland
-
Royal Quays Marina Royal Quays, North Shields, England
-
Weymouth Marina Weymouth, Dorset, England
8th January 2021
Deacons
Seacock Replacement
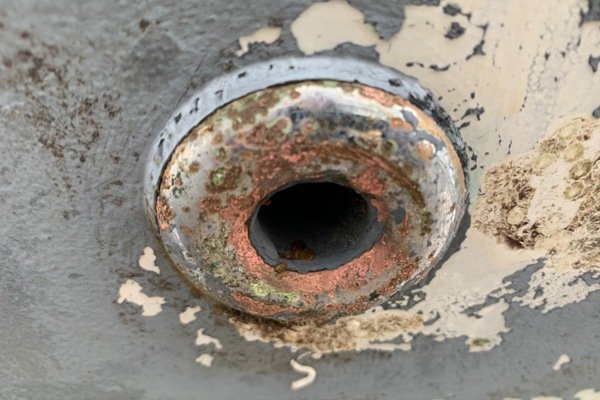
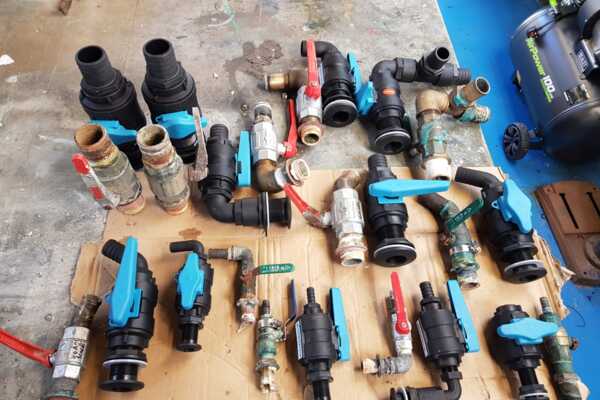
Our process for seacock replacement is as follows;
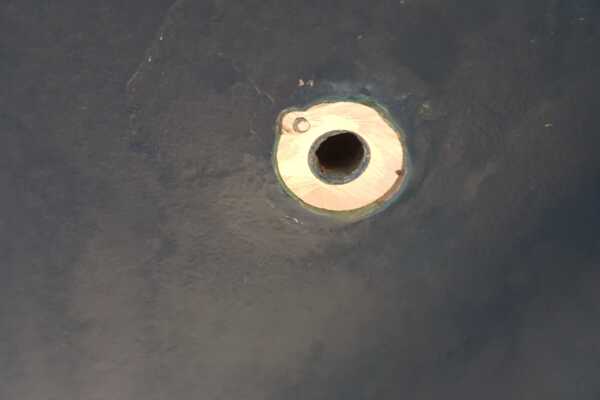
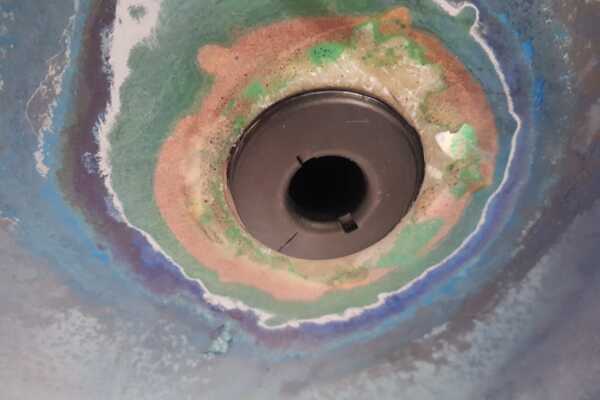
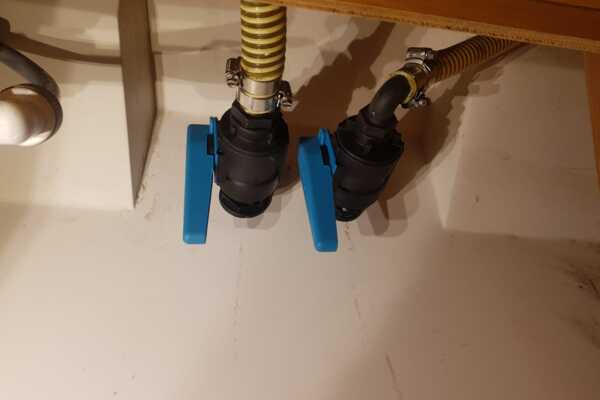
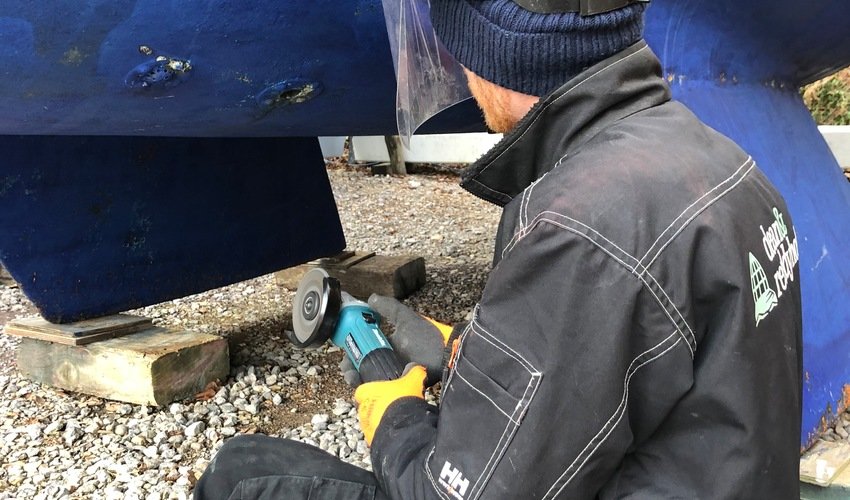
First we go inside the boat and remove the pipe (be that to the toilet, sink, or engine) from the hose tail of the seacock. Next we grind off the skin fitting on the outside of the hull, taking care not to scorch the hull. This leaves the area prepared for the new skin fitting.
We insert the new skin fitting, placing Sabatack around it first - (this is a moisture curing polyeurathane sealant and adhesive) – behind the flange.
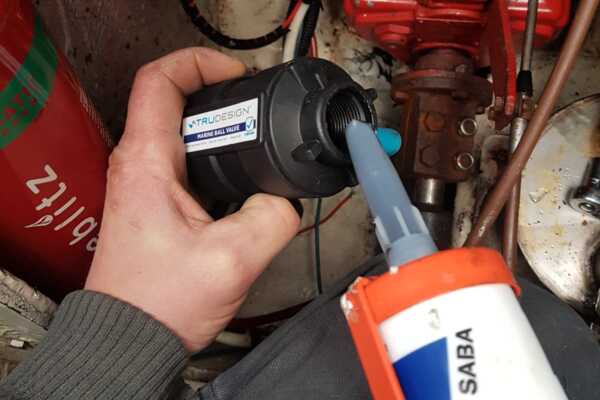
Next we go inside the boat, and place Sabatack sealant/adhesive on the locking nut to secure the skin fitting in place in the hull. Then follows the seacock itself – this is threaded on to the skin fitting again with Sabatack applied.
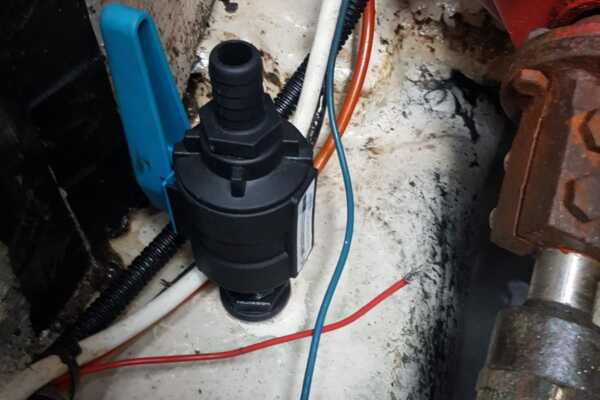
Finally, the hosetail is threaded on to the seacock – leaving it ready to secure new pipework to the tail.
Pipework is secured to the seacock with two hose clips and then attached to the inboard equipment be that sink, toilet or engine.
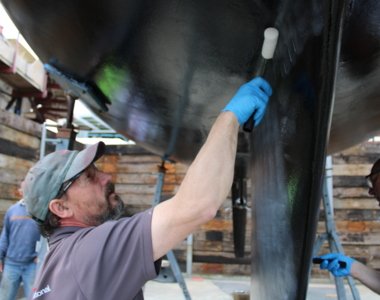
Finally, we make good the hull, reapplying primer and antifoul to the area.
Tru-Design will not corrode. We would still advise that they are exercised regularly to check they are moving freely when you need them.
If you would like us to inspect or replace your seacocks, please just contact our boatcare team at 02380 402253.


